Creating Your Own VELCROⓇ Book for World Book Day
If you live in the UK, then there’s a high likelihood that you will have heard of World Book Day – a charity that encourages children and young people to discover the joy of reading. This year, World Book Day falls on March 6th, with the theme of the year being ‘Read Your Way’ – encouraging people to personalise their reading experience.
So, given the theme, we thought what better way to personalise your child’s reading experience than making them a book? Creating a personalised book just for them can be a great way to foster an immersive reading experience!
Keep reading as we offer some step-by-step guidance on how you can create your own book with the help of VELCROⓇ products.
Step 1: Create Your Story
Writing the Story
The first thing to do is to actually come up with the plot for your story. Try to think of something age-appropriate for your child, i.e. will you need short, simple sentences or can you use slightly longer paragraphs?
If you think you’ll struggle coming up with your own story, then there are other options you can consider, such as:
- Basing the plot on one of their favourite shows
- Inserting them as a character in an existing story they love
- Using AI to write a story for you
Creating the Storybook Pages
Once you’ve come up with your story, next is getting it down on paper. If you’re particularly artistic, then you might choose to write and draw the story on paper, or you can instead choose to create the pages online using a platform such as Canva or even Microsoft Word, then printing them out.
Don’t forget to also create some supporting elements that can be used to make the book more interactive! This could include images of characters, pieces of scenery or even words that can be used to fill gaps in the story.
After creating all of your pages and supporting elements, make sure to laminate these!
Step 2: Binding Your Book
Once you’ve got your pages completed and laminated, you’ll want to hole punch the sides of the pages, allowing them to then be bound together.
There are various, easy ways to bind your pages. You could:
- Use book binder rings
- Use treasury tags
- Place them in a ring binder
Step 3: Finishing Touches with VELCROⓇ
Now that your book has been bound, it’s time to add the finishing touches to make it interactive!
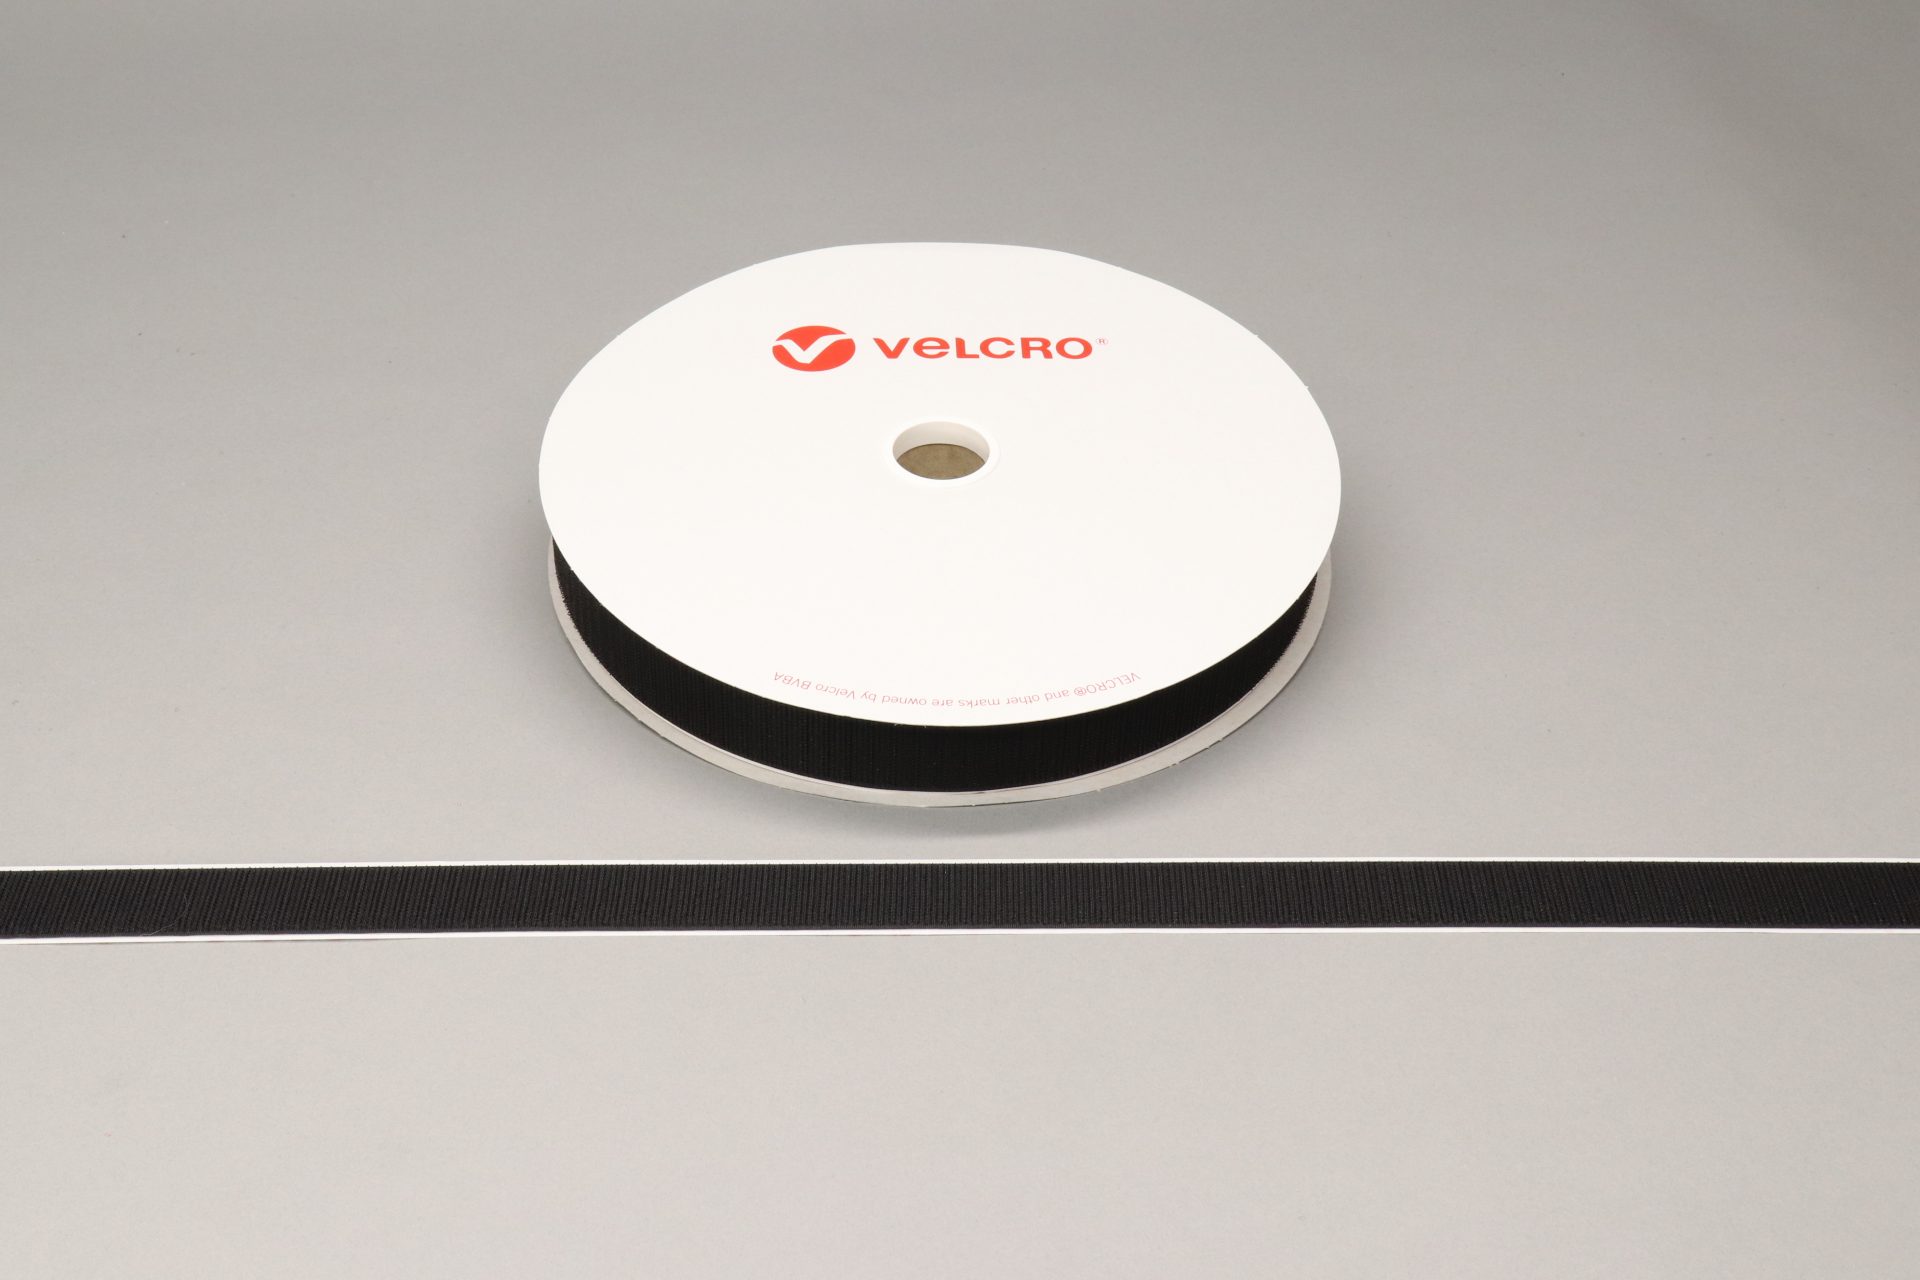
This is where VELCROⓇ hook and loop products come in. You can stick strips of self-adhesive VELCROⓇ tape to the inside of the front page, where all the interactive elements (be it pictures or words) can be kept. As for these elements, they can have VELCROⓇ stick on coins on the back of them, allowing them to be stuck to this tape.
You can then also stick VELCROⓇ coins throughout the book, allowing your child to then place the interactive elements on the pages as they make their way through the book, making it a fun and engaging experience.
Et voila! Your book is finished!
Get in Touch
If you’re looking to create a DIY book for your child to celebrate this World Book Day, then look to us here at MPD Hook & Loop to supply you with the VELCROⓇ products you need.
Get in touch with us today to enquire about the premium hook and loop products we have available.